ESP8266 Wifi Configuration Part 2
In Part 1 of the Wifi configuration tutorial we learned how to set up the device to read/write from non volatile areas of memory so that we can recall a new wifi ssid and password between reboots. In Part 2 we're going to provide an interface that allows you to set the new values from a web page. This tutorial is a combination of all the previous parts so I'll include links to the relevant parts rather than run through it all again.
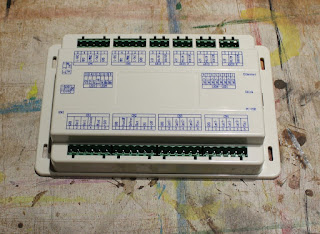
The one part we missed from the last tutorial was actually creating a wifi network. We need to include the ESP8266Wifi library and open up a new access point. Do this after loading the new wifi values to ensure the network has the correct name.
The next step is to set up a webserver to provide pages to the user. We're going to create a default index page that's just simple text. For the tutorial this will serve to point the user in the right direction for the admin functions but in a full program this would be whichever page you like. We're also going to set up a static handler to serve the page 'admin.html' from SPIFFS and finally declare a handler to deal with incoming arguments from the admin page.

With those parts implemented we're now ready to actually create the user interface. We're going to take a departure from the Arduino IDE at this point, all of the interface can be written in html using javascript to perform some basic data validation before it gets sent to the ESP device. There are lots of online editors to aid development of html pages but I found JSFiddle to be very useful. (although you'll have to manually switch to the results tab on the following script to see the output)
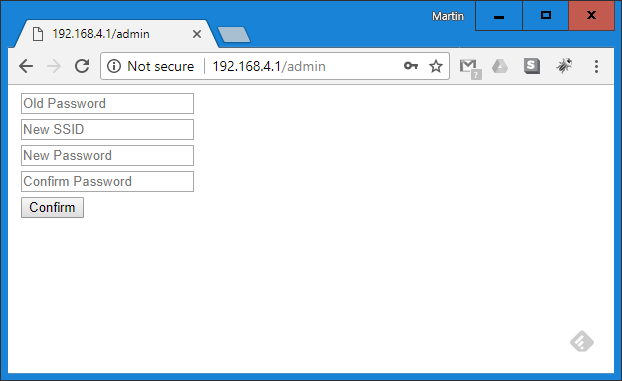
The basic input form is written in HTML, it's simply 4 input text boxes with prompts as to what the values should be. The old password box is provided to check if the user has the right password and therefore permissions to change the values. The new SSID box is just a new text value and there are 2 password input boxes just to confirm that the new password has been typed correctly (given that the data is blanked). HTML already deals with most of the validation required, you can specify how long or short text needs to be (in this case more than seven characters and less than sixteen) and it deals with the password inputs. The only small piece of JavaScript we have to add is to validate that password1 contains the same value as password2. This gets checked when the HTML form is submitted, again html deals with creating the string of arguments to post to the ESP8266.
Once the form is successfully filled out it will POST a series of arguments to the ESP device. The form only needs to contain new ssid or new password information, and it is only input data with a name attribute that gets sent so we should be seeing upto 3 arguments, 'oldpassword', 'newssid' and 'newpassword'. Our handleAdmin() function will be sent the incoming data and it's ready for us to process, lets take a look at that function.
The first thing we do is look at all the arguments and pass them out to the serial port, a handy way to make sure that we're sending the values we think we're sending. The web server library has more specific functions that allow us to check and see if a specific arguments exists before we try to process the data. We can pass the argument name to the web server using the 'hasArgs()' function and check to see if the old password has been supplied. The first test is to make sure that the password matches the one we're currently using, if these don't match we should ignore all the rest of the data.
If the password matches we then need to copy the values from the newssid and newpassword arguments into our own variable. We can check at this point that the arguments are also the right length (and if they're not greater than zero they don't exist at all). We copy the new values over to our config variables and store them to EEPROM, it's as simple as that. It's polite to let the user know if there was success or failure at this point so we construct a short html response string with the pass or fail result, being html we can also add in a browser redirect back to the main page. I have looked at performing an automatic reboot at this point to start using the new values but the Wemos D1 doesn't appear to restart correctly, this is probably something to do with the USB serial device and the arduino programming.
Here is the whole program, the next step would be to roll all of this access point configuration into a single library that could be easily imported into any project.